Installation Guide
Assembly
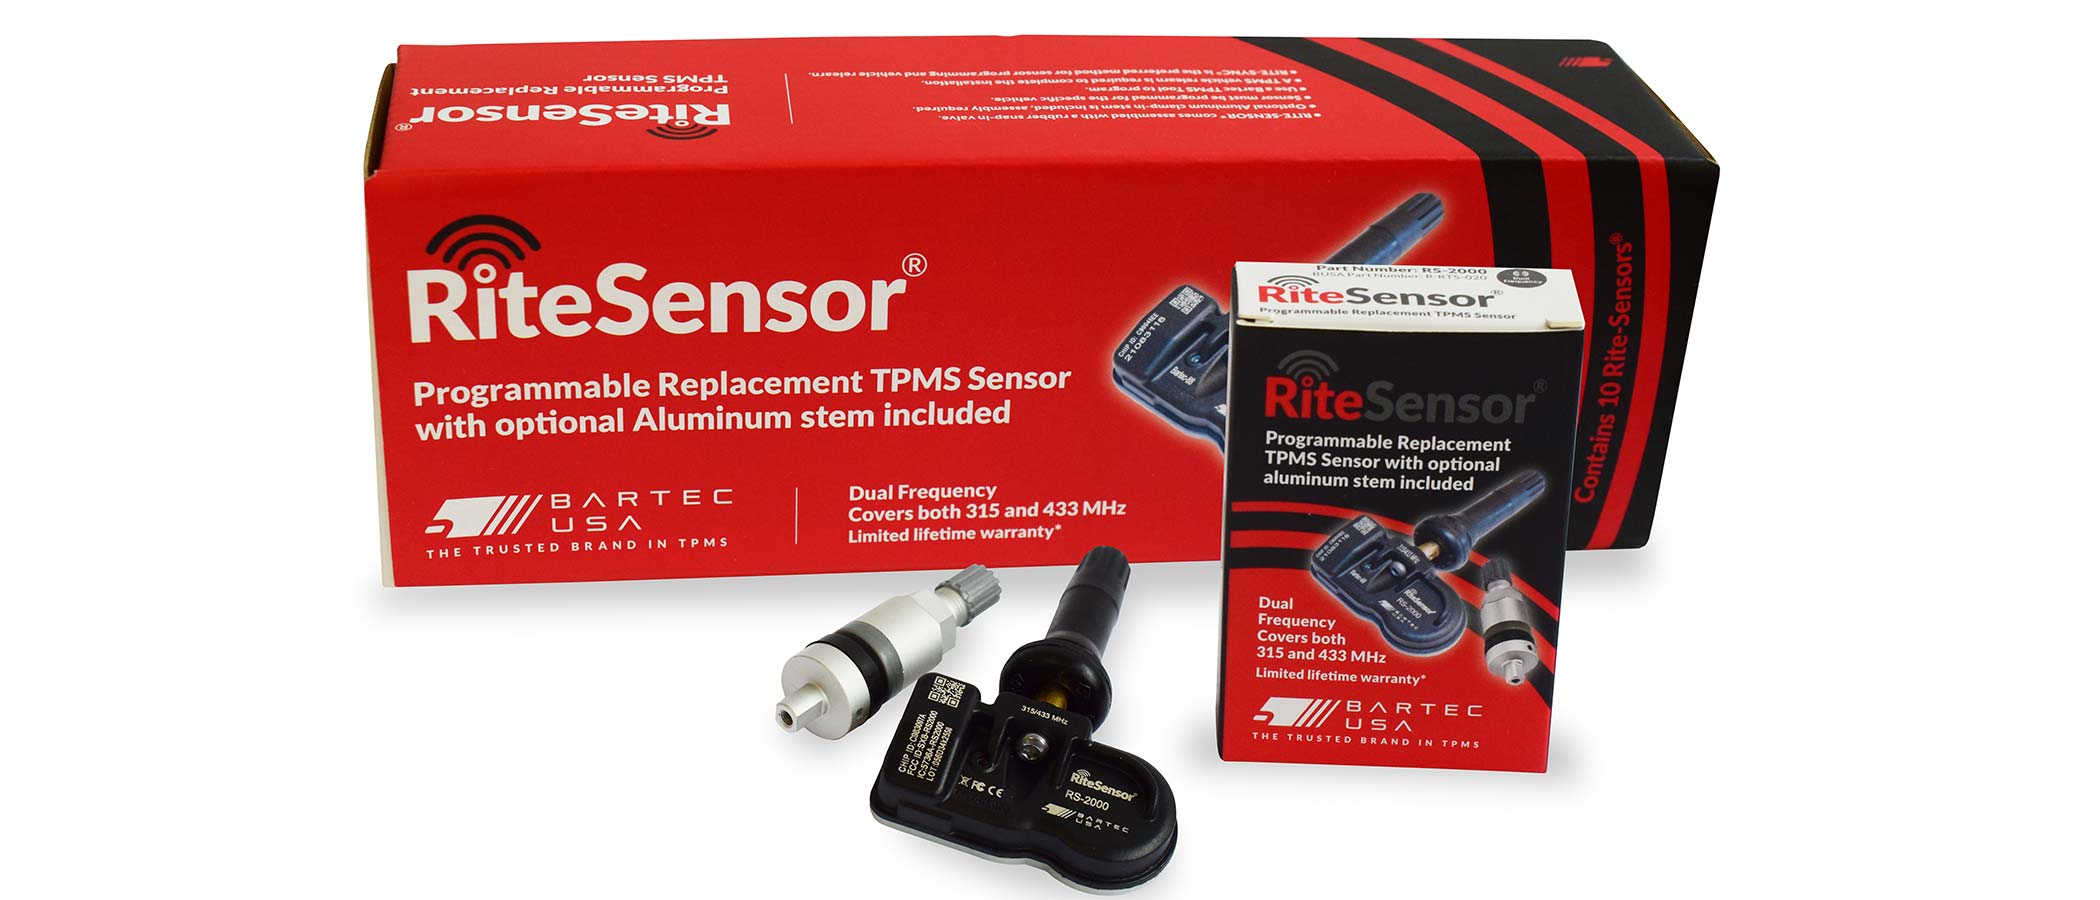
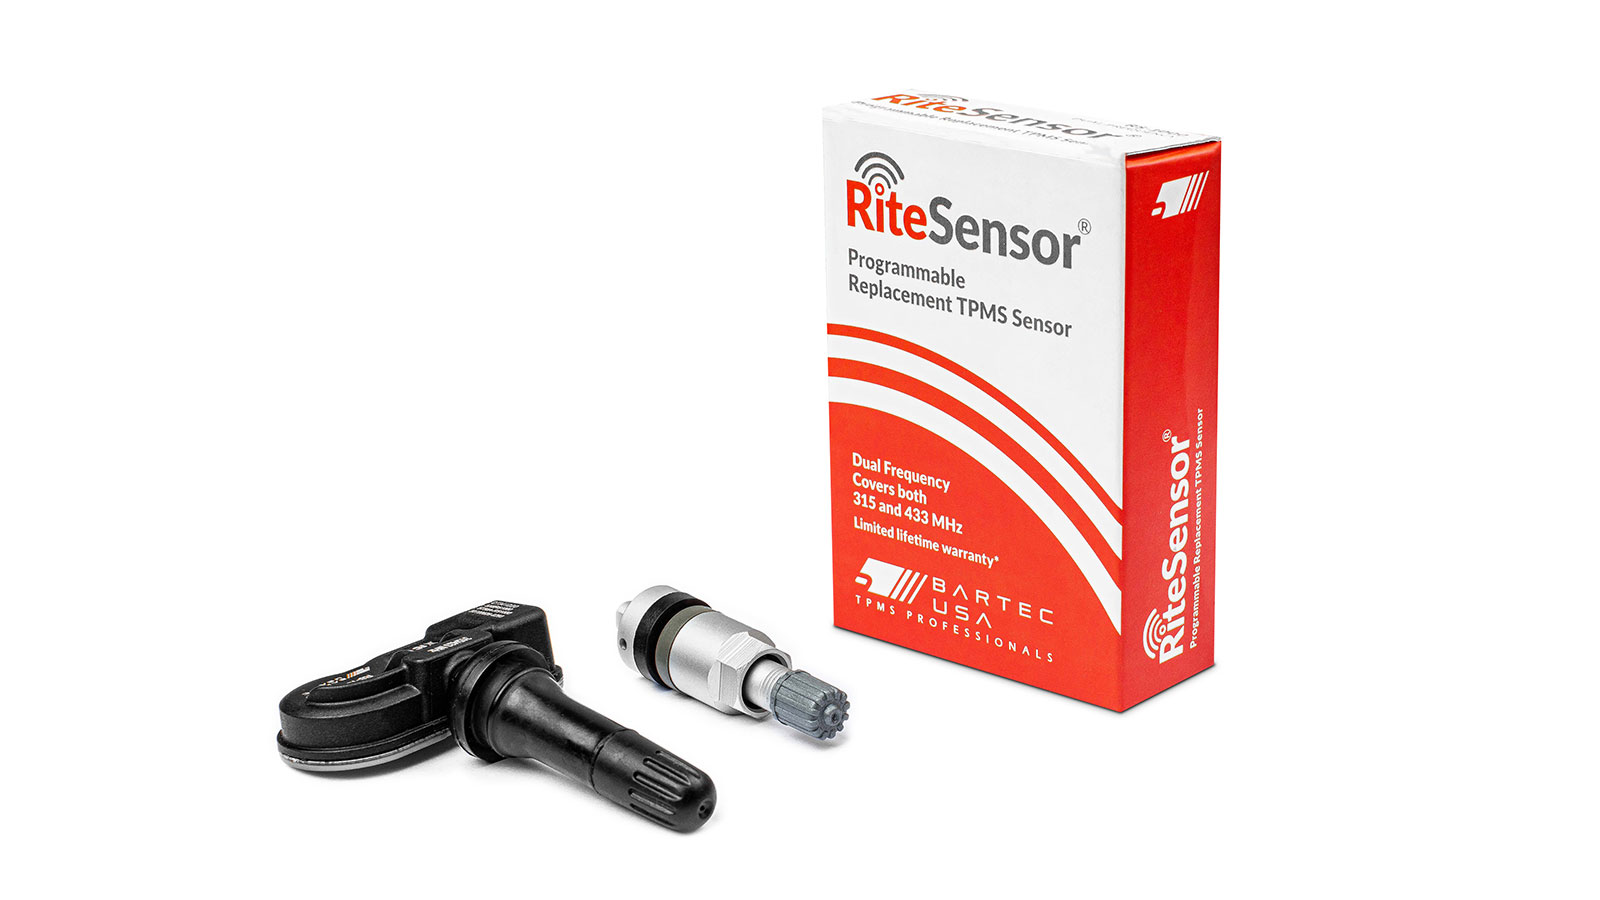
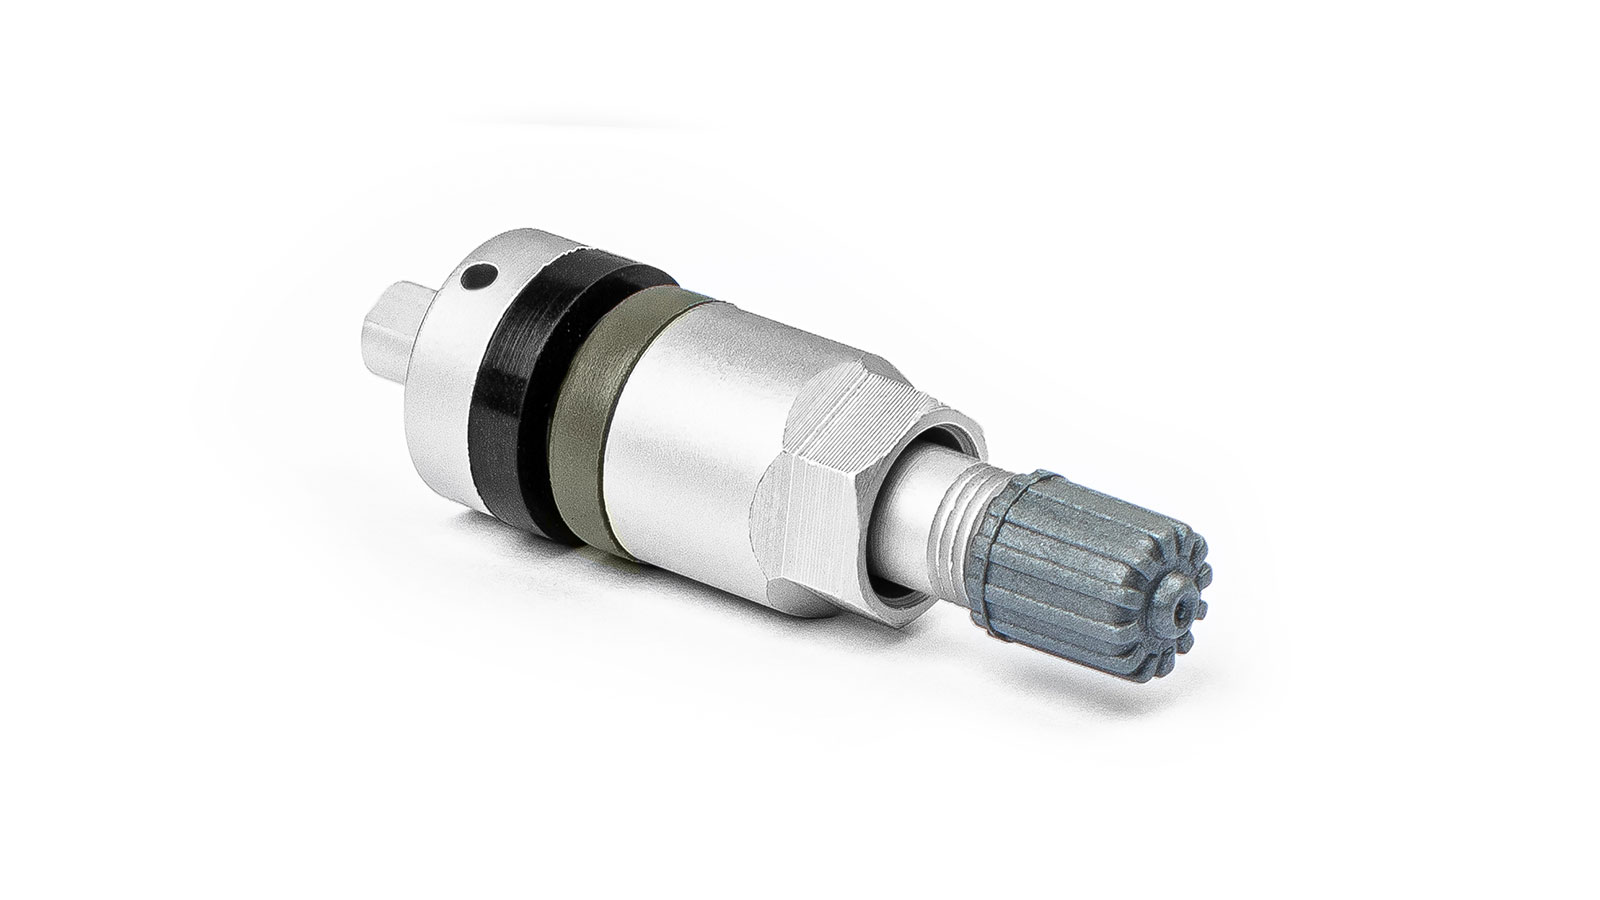
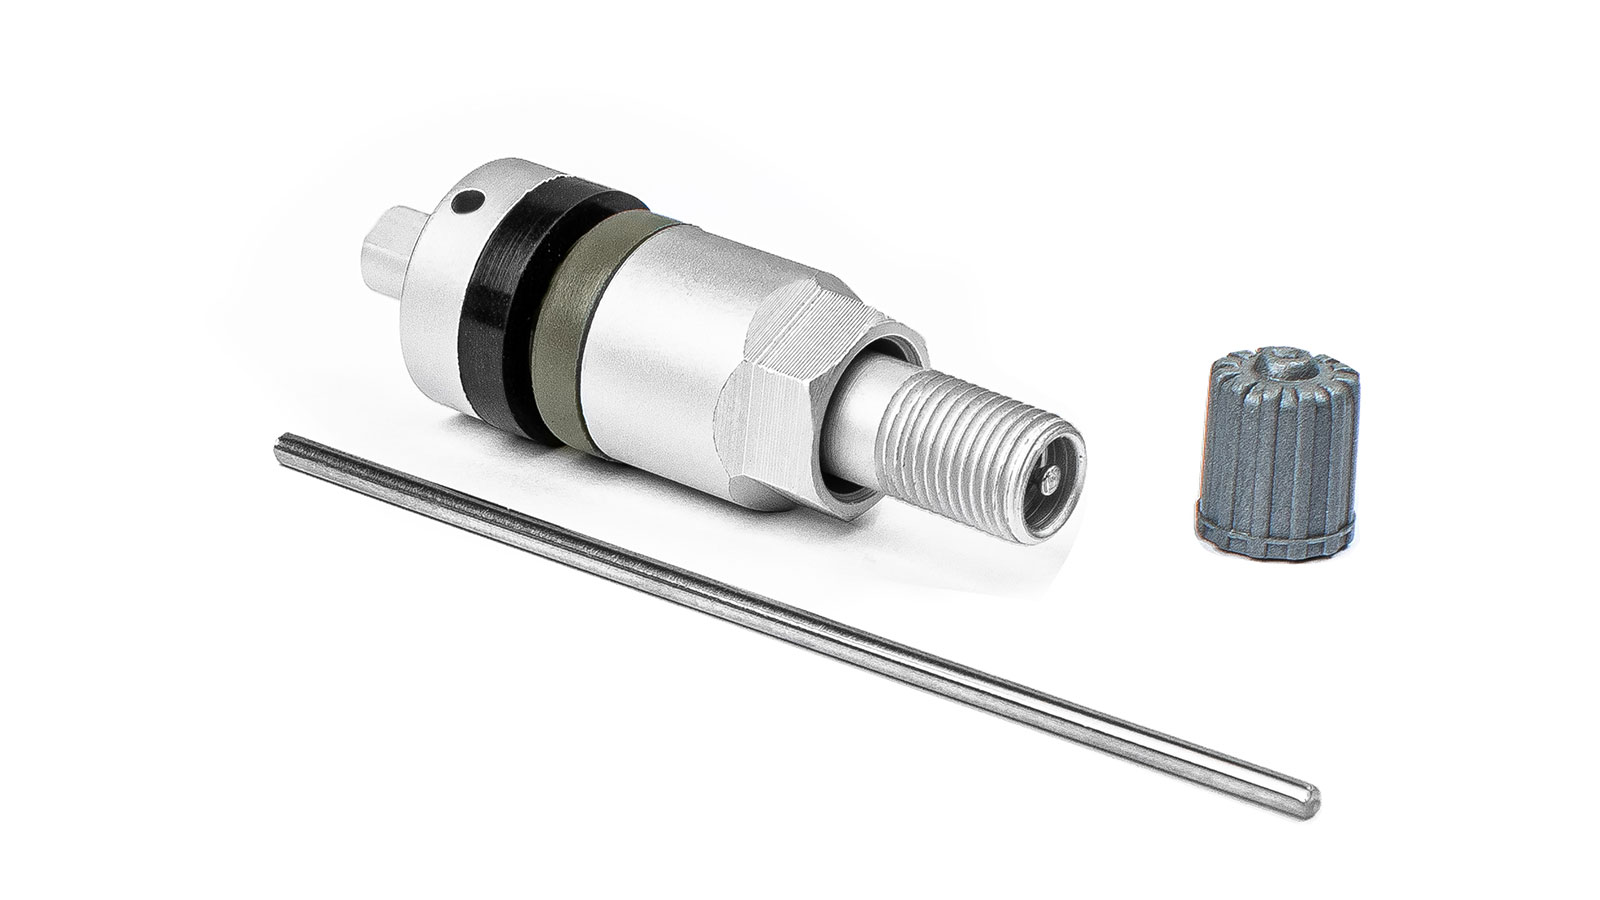
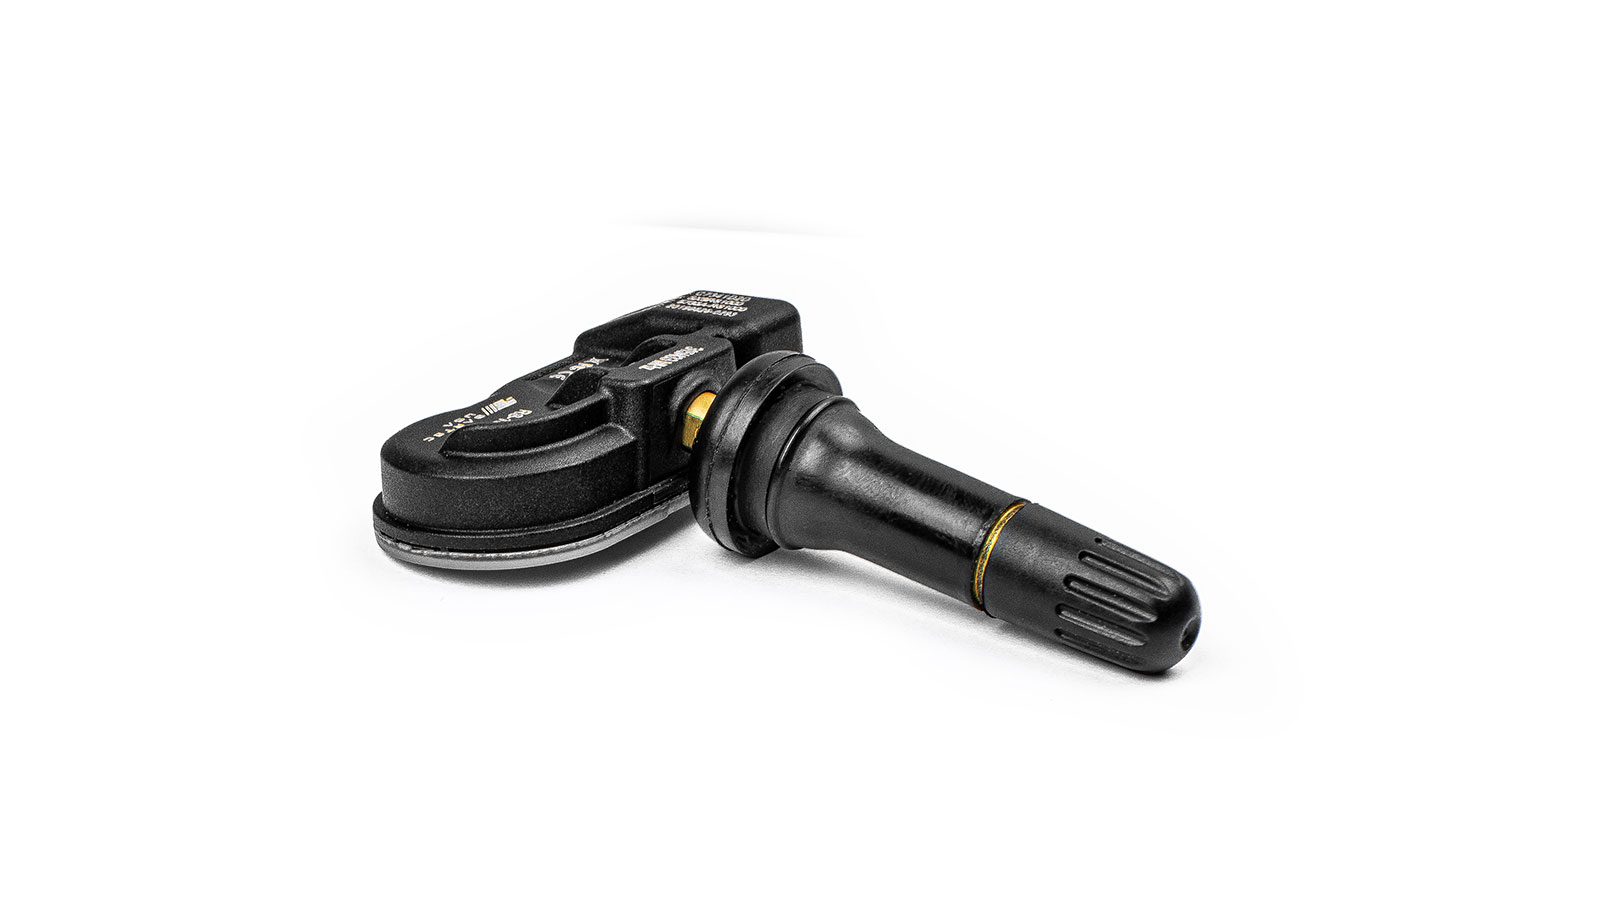
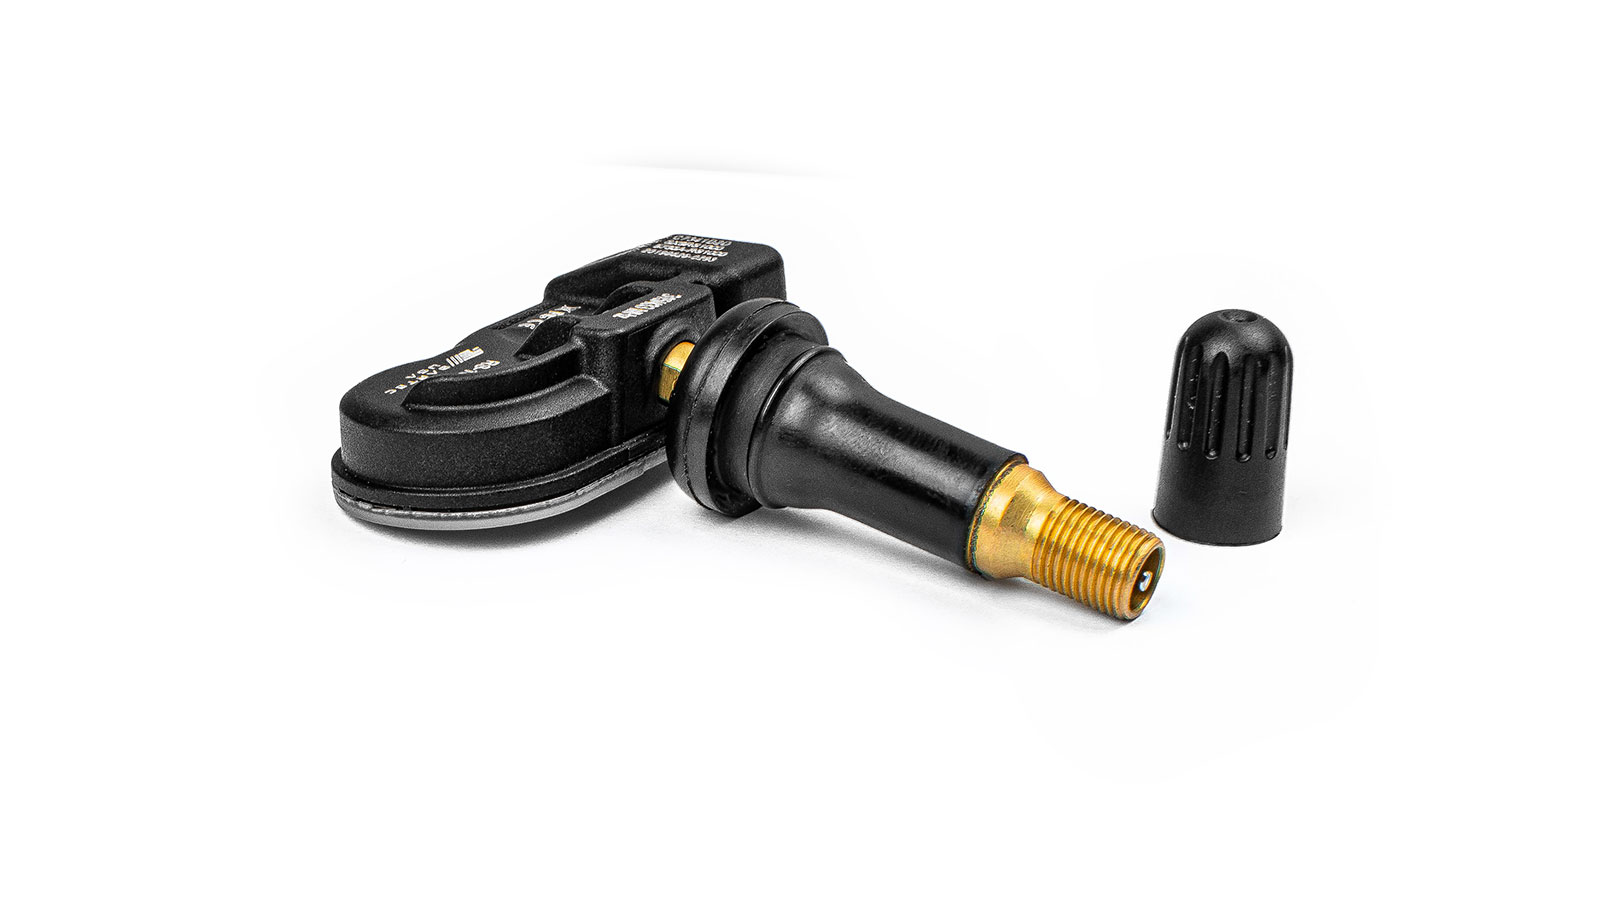
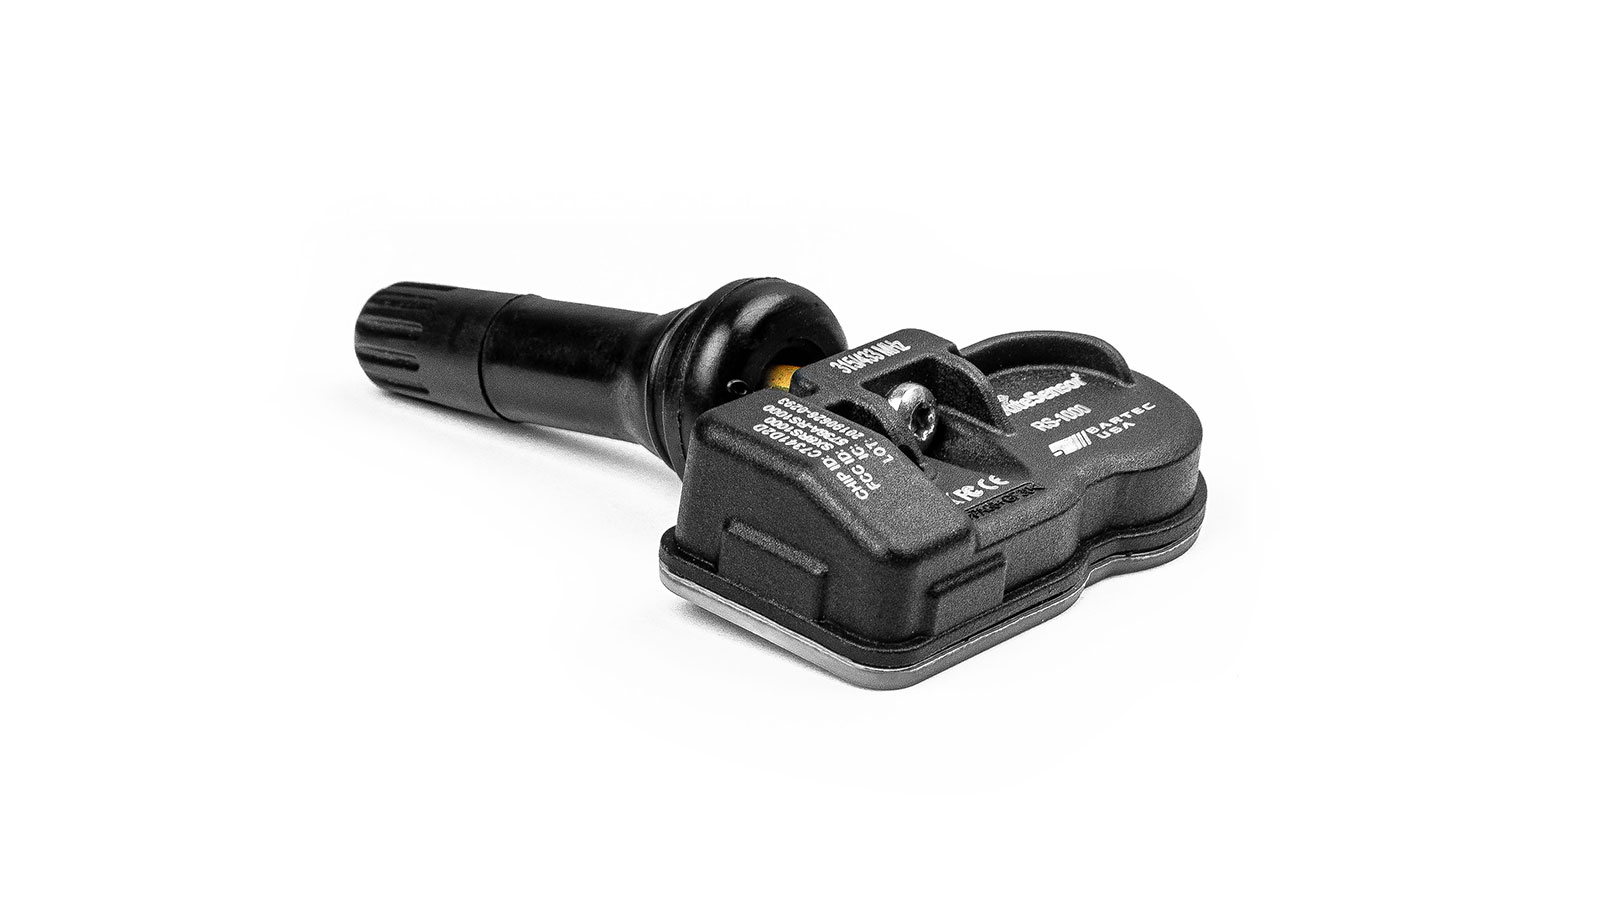
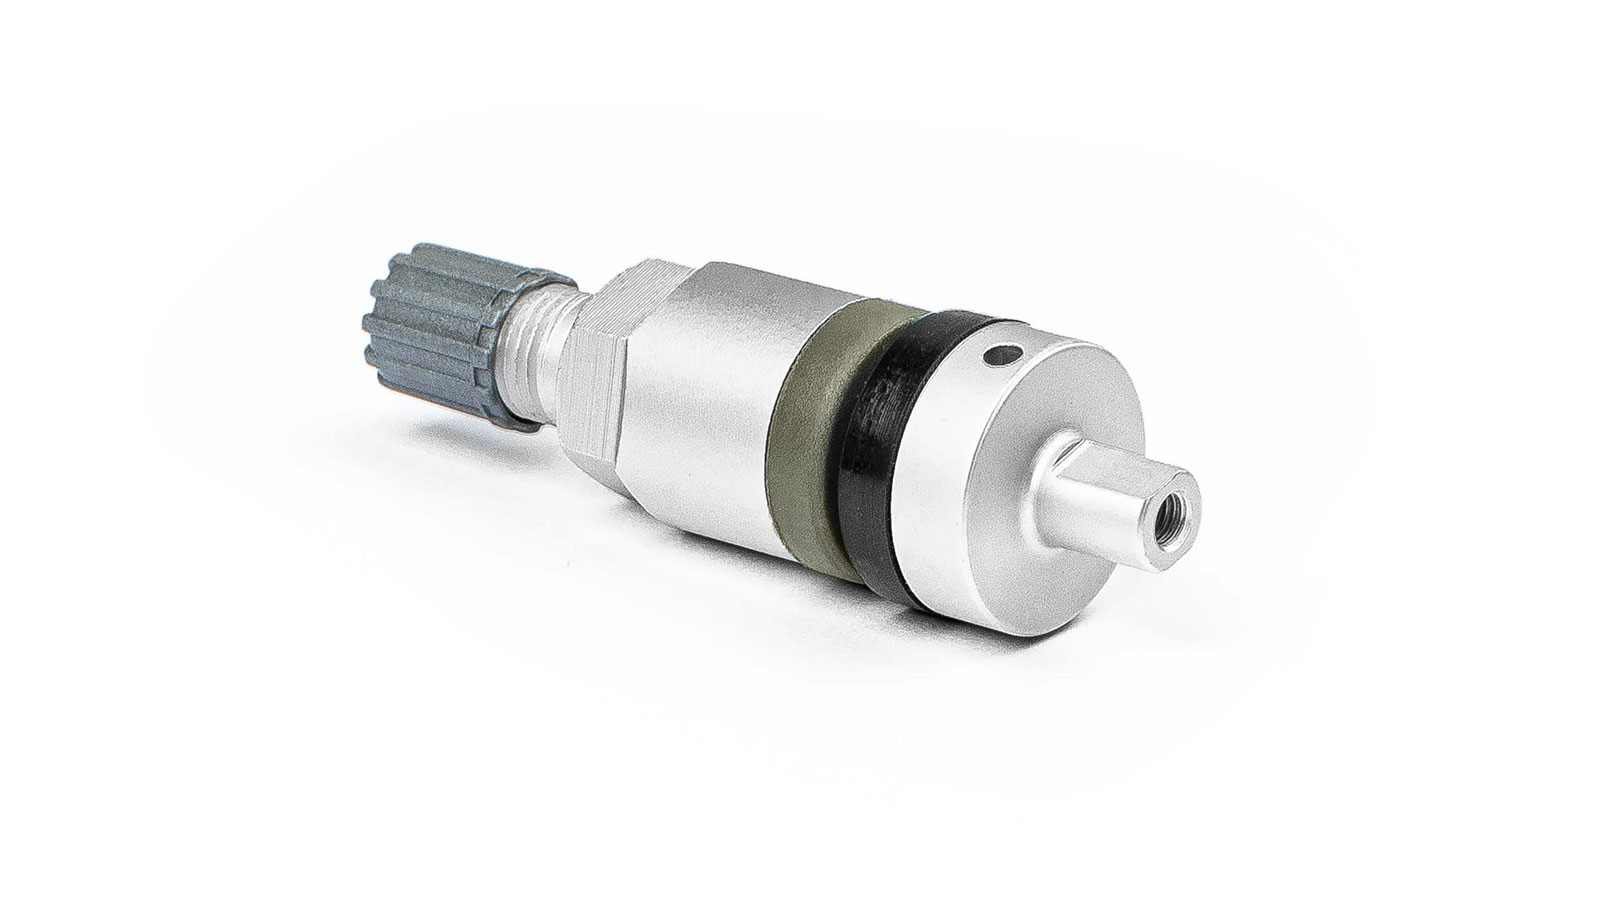
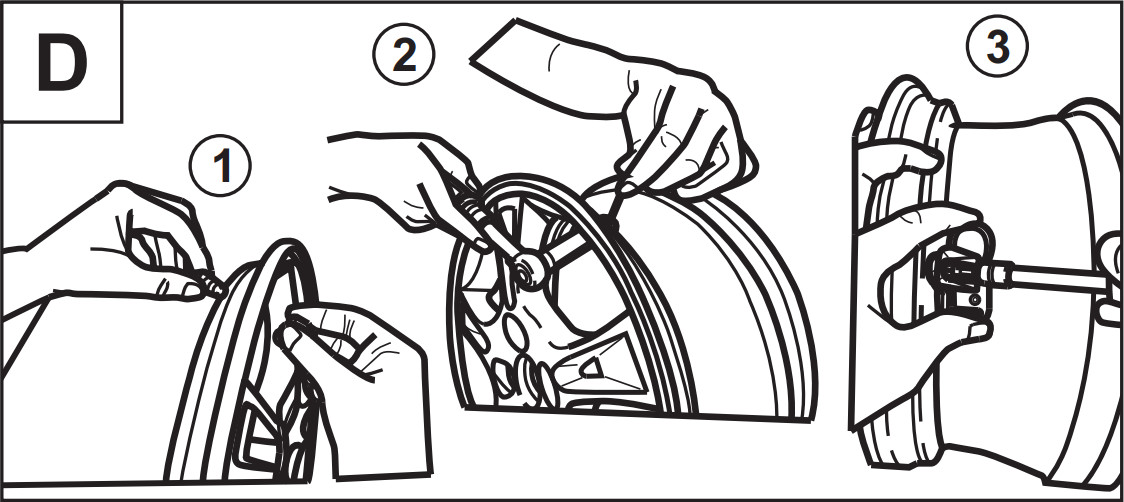
The RITE-SENSOR® comes assembled with a rubber valve stem. In some cases the aluminum valve stem is required or needed. First remove the rubber valve stem by unscrewing the fastener. Insert the aluminum stem into the sensor. Insert the anti-rotation pin into the hole at the base of the stem, just above the sensor body. Insert NEW fastener into stem and torque to 35.5 in-lbs (4Nm).
Programming
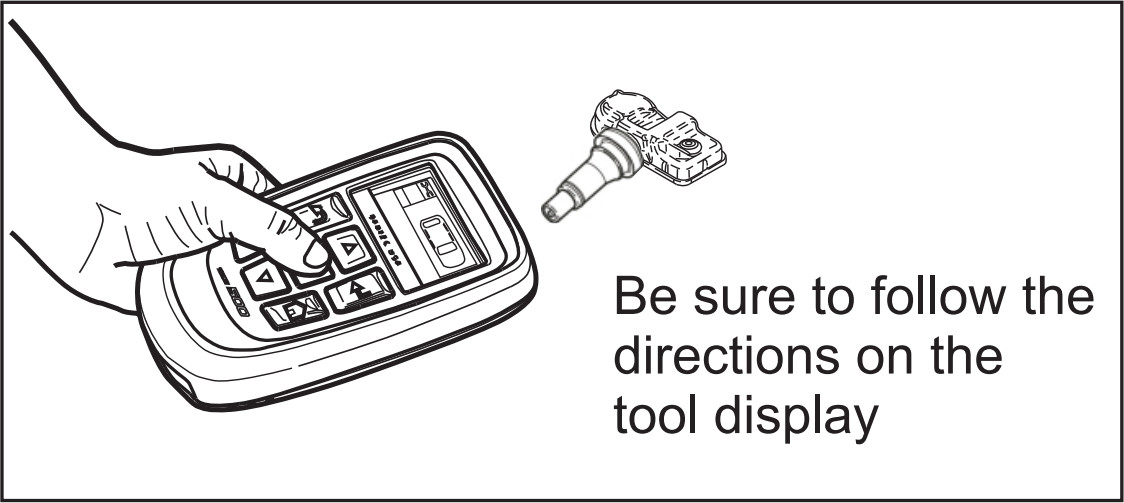
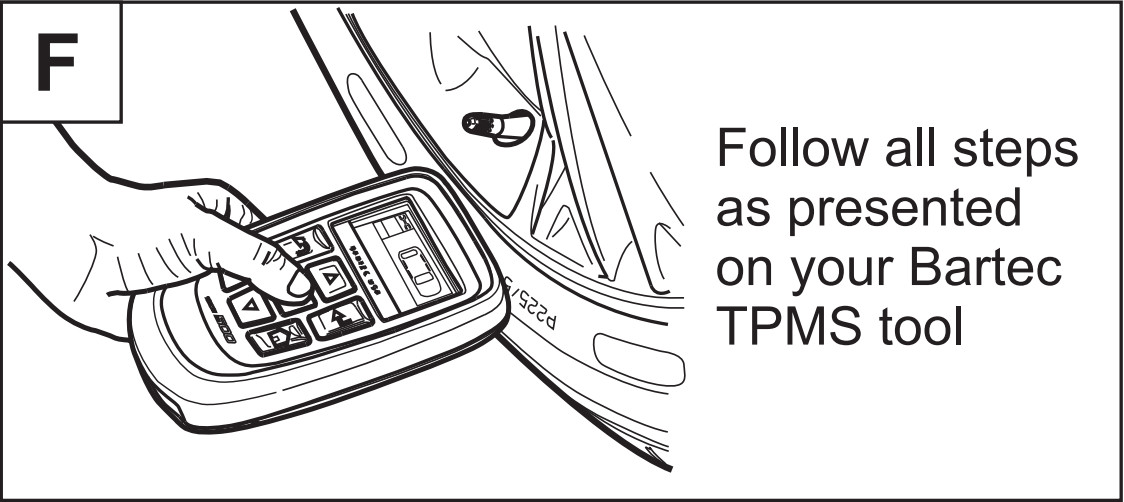
The RITE-SENSOR® needs to be programmed BEFORE use. To program the RITE-SENSOR® according to specific year, make and model being serviced, follow the instructions on your Bartec Tech400Pro, Tech500, Tech300Pro or the Tech400SD TPMS service tool. It is important to know the precise application information to accurately program your RITE-SENSOR®.
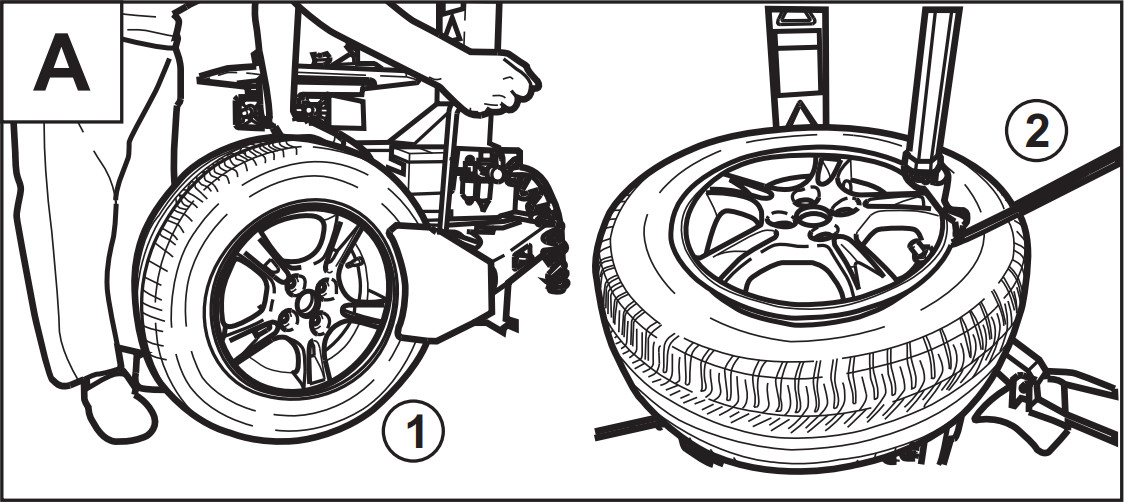
A. Deflate and Disassemble Tire and Wheel
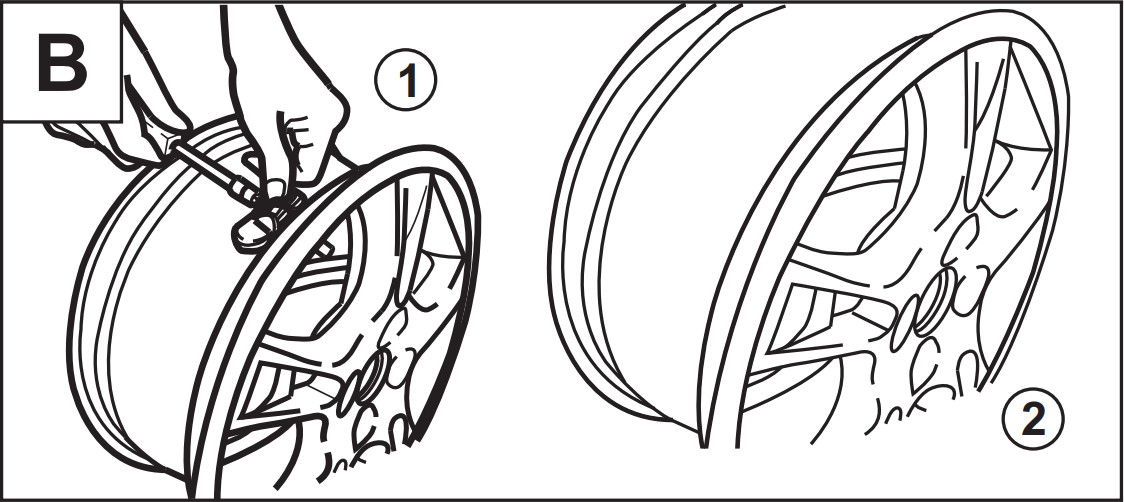
B. Detach Sensor from Stem, Remove Stem and Inspect the Wheel
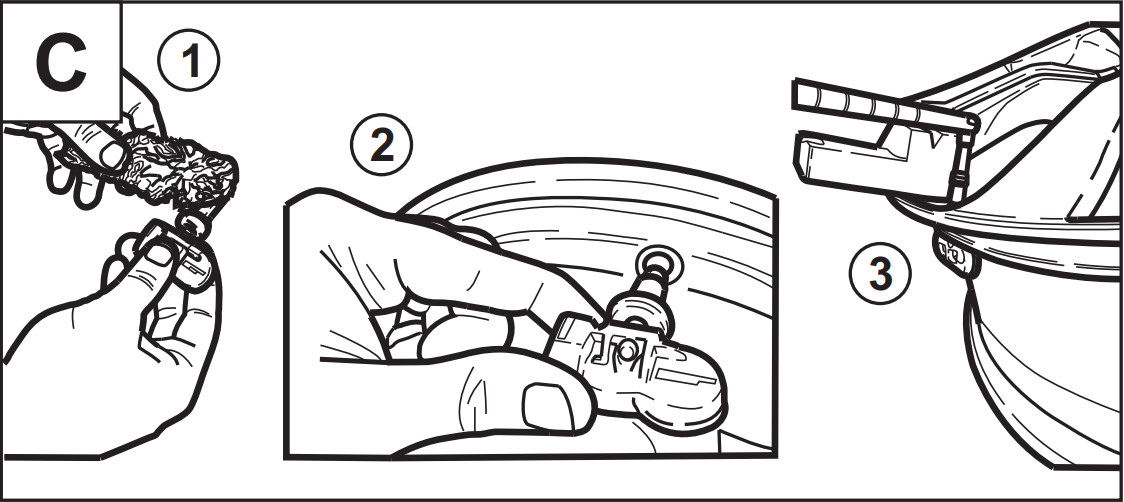
C. Assembly of RITE-SENSOR® with Rubber Valve Stem Fitted
D. Assembly of RITE-SENSOR® with Aluminum Valve Stem Fitted
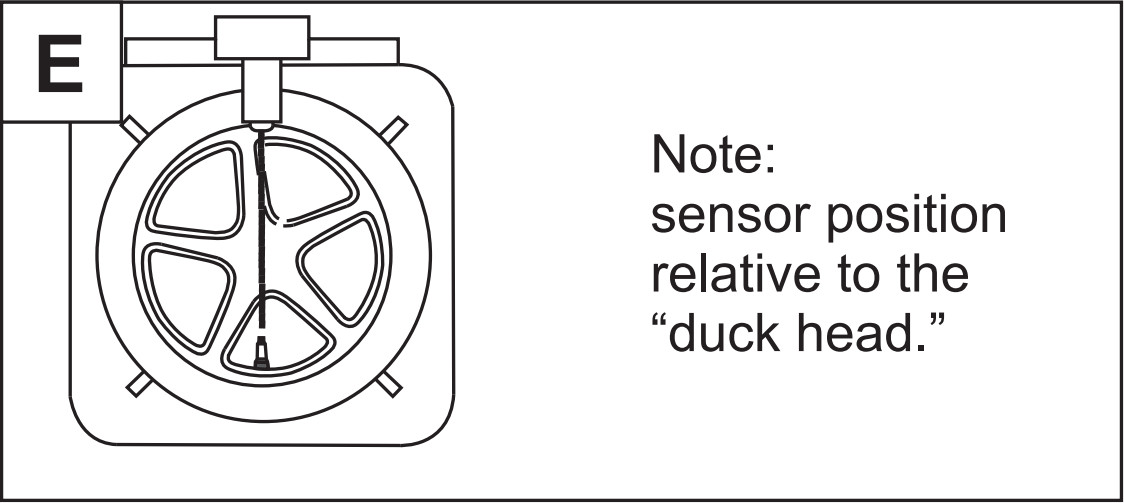
E. Mount the Tire to the Wheel
F. Program RITE-SYNC® using Bartec TPMS Tool
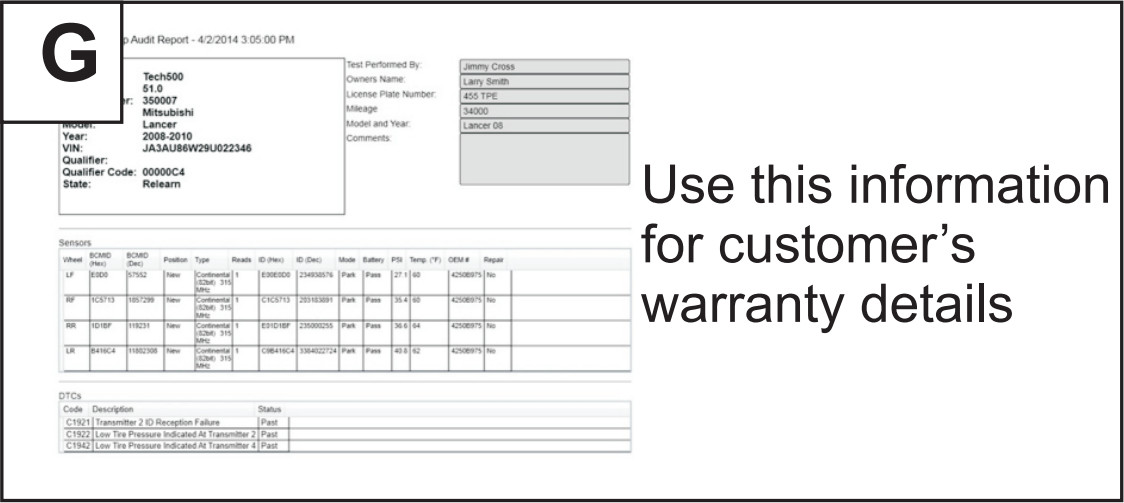
G. Print/Save Inspection Report
Program single RITE-SENSOR® or sensors not being installed on a vehicle by using Bartec TPMS Tool
